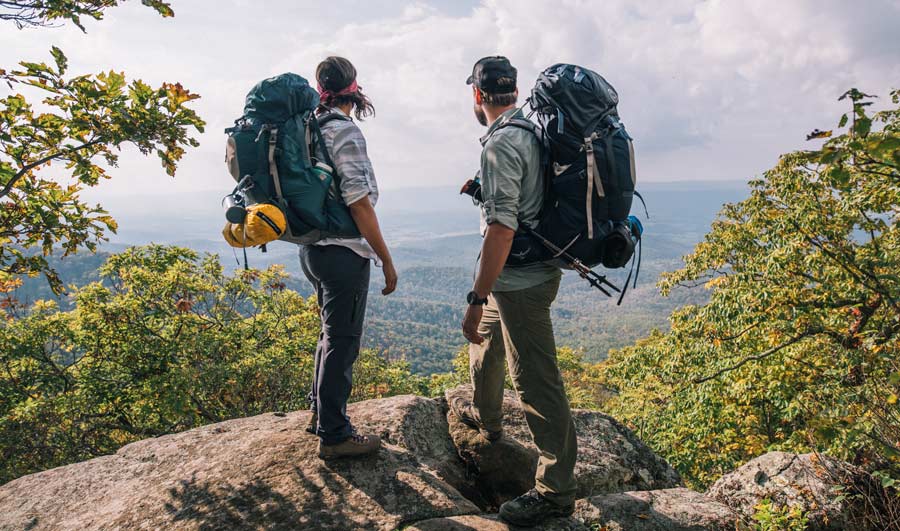
Beyond the busy local trail and bustling car campground lies a more immersive experience. Backpacking offers a richer, more rewarding appreciation of the natural world. Carrying life’s essentials on your back will be both liberating and physically challenging. And here’s the 3 steps backpacking tips for the beginners. Check it out!
Step 1: Find an Experienced Partner
If you have a friend or two who are backpackers, ask them to take you on a one- or two-night backpacking trip. Chances are they’ll be happy to share their backpacking expertise with you, can recommend or loan you gear, and will likely bring their own gear to share.
If you don’t know a backpacker, find a willing friend to sign up for a backpacking class with you. It’s smart, and often more fun, to take at least one other person with you on your first backpacking trip.
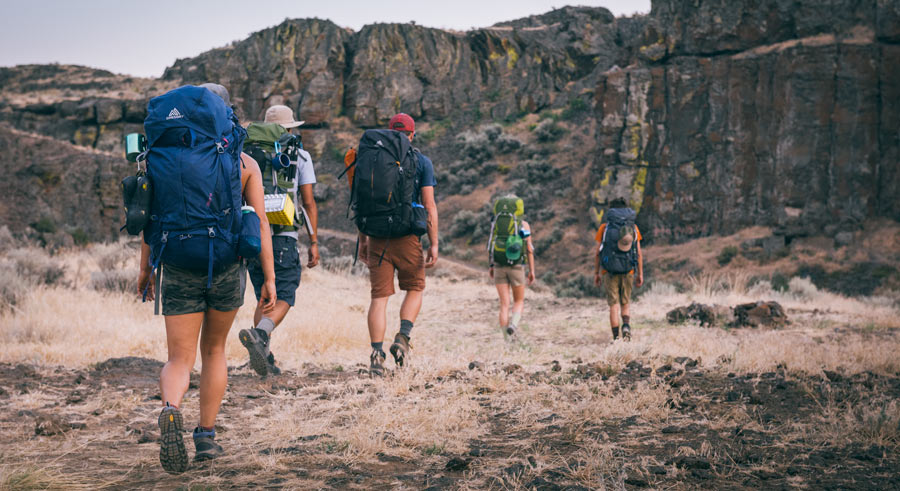
Step Two: Choose a Backpacking Route
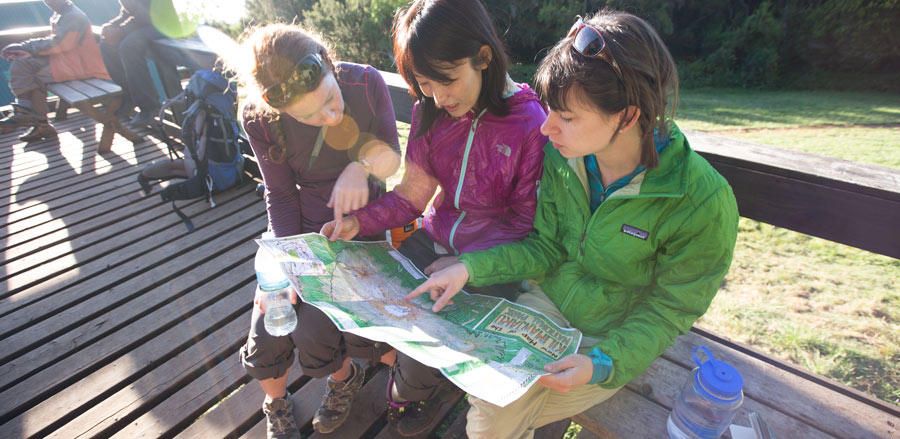
Where you go backpacking will depend on several factors:
- How much time you have. You may only have a weekend, but that’s enough for your first outing.
- Your fitness level: Assess the shape you’re in and how much time you have to train before the outing.
- Distance: Decide how many miles and hours you’re comfortable hiking in one day, especially while wearing a heavier-than-usual pack. If you’re a beginner, a comfortable trip distance is in the range of three to eight miles round-trip (if you have significant elevation gain, or you’re traveling with kids, you’ll probably want to stick to shorter routes).
- Elevation gain: How much elevation can you handle? If you’re already a hiker, you probably have a good idea of the elevation gain you’ll be comfortable tackling. Just keep in mind that carrying more weight than you’re used to will slow you down. If you have little experience handling elevation gains, you’ll probably want to stick to a relatively flat route to begin with.
- Time of year and weather: If dusk falls early, as in autumn, plan a route or leave early enough to avoid hiking in the dark. Always check the weather forecast and cancel your trip if a storm is moving in.
- Logistics: Decide whether you’ll hike a loop trail, go out and back on the same section of trail or do a point-to-point route. If you’re hiking point-to-point, you’ll need to shuttle cars to your start and end points. You’ll also want to consider driving time to the trailhead and make sure you give yourself enough time to make camp before dark.
Step Three: Choose Your Backpacking Gear
The Ten Essentials
Know what these are and be equipped. Make sure you and your fellow backpackers are on the same page when it comes to who is bringing what. Double-check before you leave home. It can be a real downer to discover that no one brought a lighter for the stove or a water filter.
Group Backpacking Gear
A major advantage of going backpacking with an experienced partner or partners is that they are likely to have the communal gear you’ll need, such as a two- or three-person tent, stove and kitchen supplies. (If you go with a larger group, it’s wise to bring more than one stove, and of course, more tents.)
In addition, your experienced friends can advise you on what not to bring, in order to limit the weight in your pack. Here are some more details on the group backpacking gear you’ll need:
Tent: Backpacking tents are much lighter in weight than car-camping tents. That’s because they’re more compact and tend to be made of superlight materials and poles (which can add to the cost of the tent). Consider size: a three-person tent for three people weighs less (and is more economical) than three one-person tents. If your group is setting up a base camp for a couple days, a larger tent with more head height can be worth the extra weight.
Stove: A compact stove that boils water fast, such as an integrated canister system, can be great for group dining. All you need to do is add the boiling water to freeze-dried meals and let them sit for about 10 minutes. If your group is larger than three, consider bringing two stoves. That way no one is left hungry waiting for the pot to boil.
Water treatment: Some people carry all the water they think they’ll need for a couple days, which can be very heavy. By filtering or treating water from backcountry streams and lakes, you’ll save weight. Make sure you and your hiking partner have a water filter you both can use (bring more than one filter for a group). Depending on the style of filter you’re using, you’ll probably also need to bring your own water bottles and/or a hydration reservoir with drinking tube.
Kitchen supplies: If you’re using an integrated stove system, your cooking pot is built-in. Otherwise, you’ll need at the bare minimum a backpacking kettle or pot in which to boil water. Each person will also need a mug and bowl and a spoon or spork. You can create a kitchen kit that contains some basics: a long-handled stirring spoon; a small spatula if you’ll be frying pancakes; a paring knife; salt and pepper and other spices in tiny bags or bottles. Consider a collapsible camp sink, too, and a small sponge and bottle of biodegradable soap for washing dishes well away from camp and water sources.
Personal Backpacking Gear
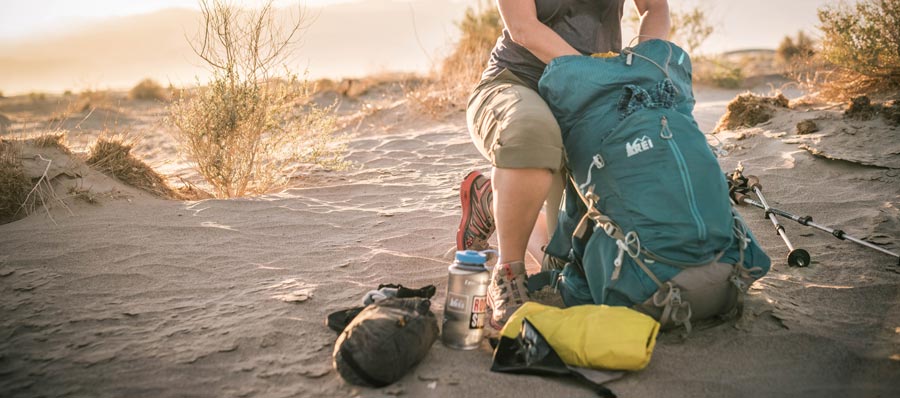
Below are the personal basics you’ll need for backpacking, whether it’s for one night or one week. (Tip: For your first trip, you may want to borrow or rent gear, such as a backpack, sleeping bag and sleeping pad, so you can start to learn which features matter most to you before you invest.) To see a comprehensive list, go to REI’s Backpacking Checklist.
Backpacking Clothing: Choose clothing made of quick-drying, moisture-wicking fabrics. Avoid cotton, which takes a long time to dry when wet and can lead to hypothermia. Think of clothing as separate systems:
Next-to-skin base layers: Most important in cool to cold temperatures.
Hiking layers: Nylon pants (may be rollup or zip-off), T-shirts, sun shirt, sun hat.
Insulation: Puffy vest or jacket, lightweight fleece pullover, warm hat and gloves.
Rainwear: Definitely bring a waterproof jacket; pants depend on weather forecast (rainwear is also good at preventing mosquito bites).
Sleep clothes: Keep a clean tee, bottoms and socks just for sleeping.
Backpacking footwear: Because your feet are crucial to a successful trip, footwear is probably the most important item you need to choose. It’s also a very personal choice. Some backpackers prefer supportive over-the-ankle boots, while others have made the leap to lightweight trail running shoes. It also may depend on the trail—will it be dirt and soft duff, or mostly rocky?
Any boots or shoes you wear should be well broken-in and comfortable for long distances. Wear wool or synthetic socks and stop midday to air out your feet and even change to fresh socks. Some backpackers also bring a lightweight pair of shoes, sandals or water sandals for wearing around camp (and for fording creeks).
Backpack: If you do borrow a pack, make sure you try it on first and that it fits comfortably. It should have a capacity of 45–60 liters. Load it up with water bottles and items to about 30 pounds, and take it out on a long test hike. If it’s comfortable on the hips and in the shoulders, give it a spin on your backpacking trip. If you decide to buy a backpack, have an REI sales specialist measure your torso and fit you for one properly.
Sleeping bag: Make sure you have a lightweight, compressible sleeping bag (if you borrow one, you might want to buy or make a liner to use with it). If you decide to buy a bag, do your research and learn the pros and cons of down fill vs. synthetic fill, especially in terms of the weather and temperatures you’ll encounter on your backpacking trips.
Sleeping pad: The cushioning and insulation of a pad is crucial to a good night’s sleep. If you buy one, there are three types of pads to choose from: closed-cell foam, air and self-inflating. Check out the weight, packed size and insulation factor (insulation is important even in summer) to find what’s right for you.
Food: To keep loads light, many backpackers bring freeze-dried meals that only require adding boiling water. If you don’t mind extra weight for an overnight, you can bring ingredients for a more gourmet meal. Bring high-calorie, high-protein energy bars and snacks such as trail mix to munch on during the day (and sometimes in place of a meal).